Are you planning some holiday baking? If cookie making is on your holiday season checklist, try creating your own cookie cutters with recycled soda cans instead of buying new ones made of plastic. This way, you’re helping to keep Hawaii Trash Free and you get to make your own, unique designs! Below are some instructions to get you started. You can also watch a quick video tutorial for this DIY!
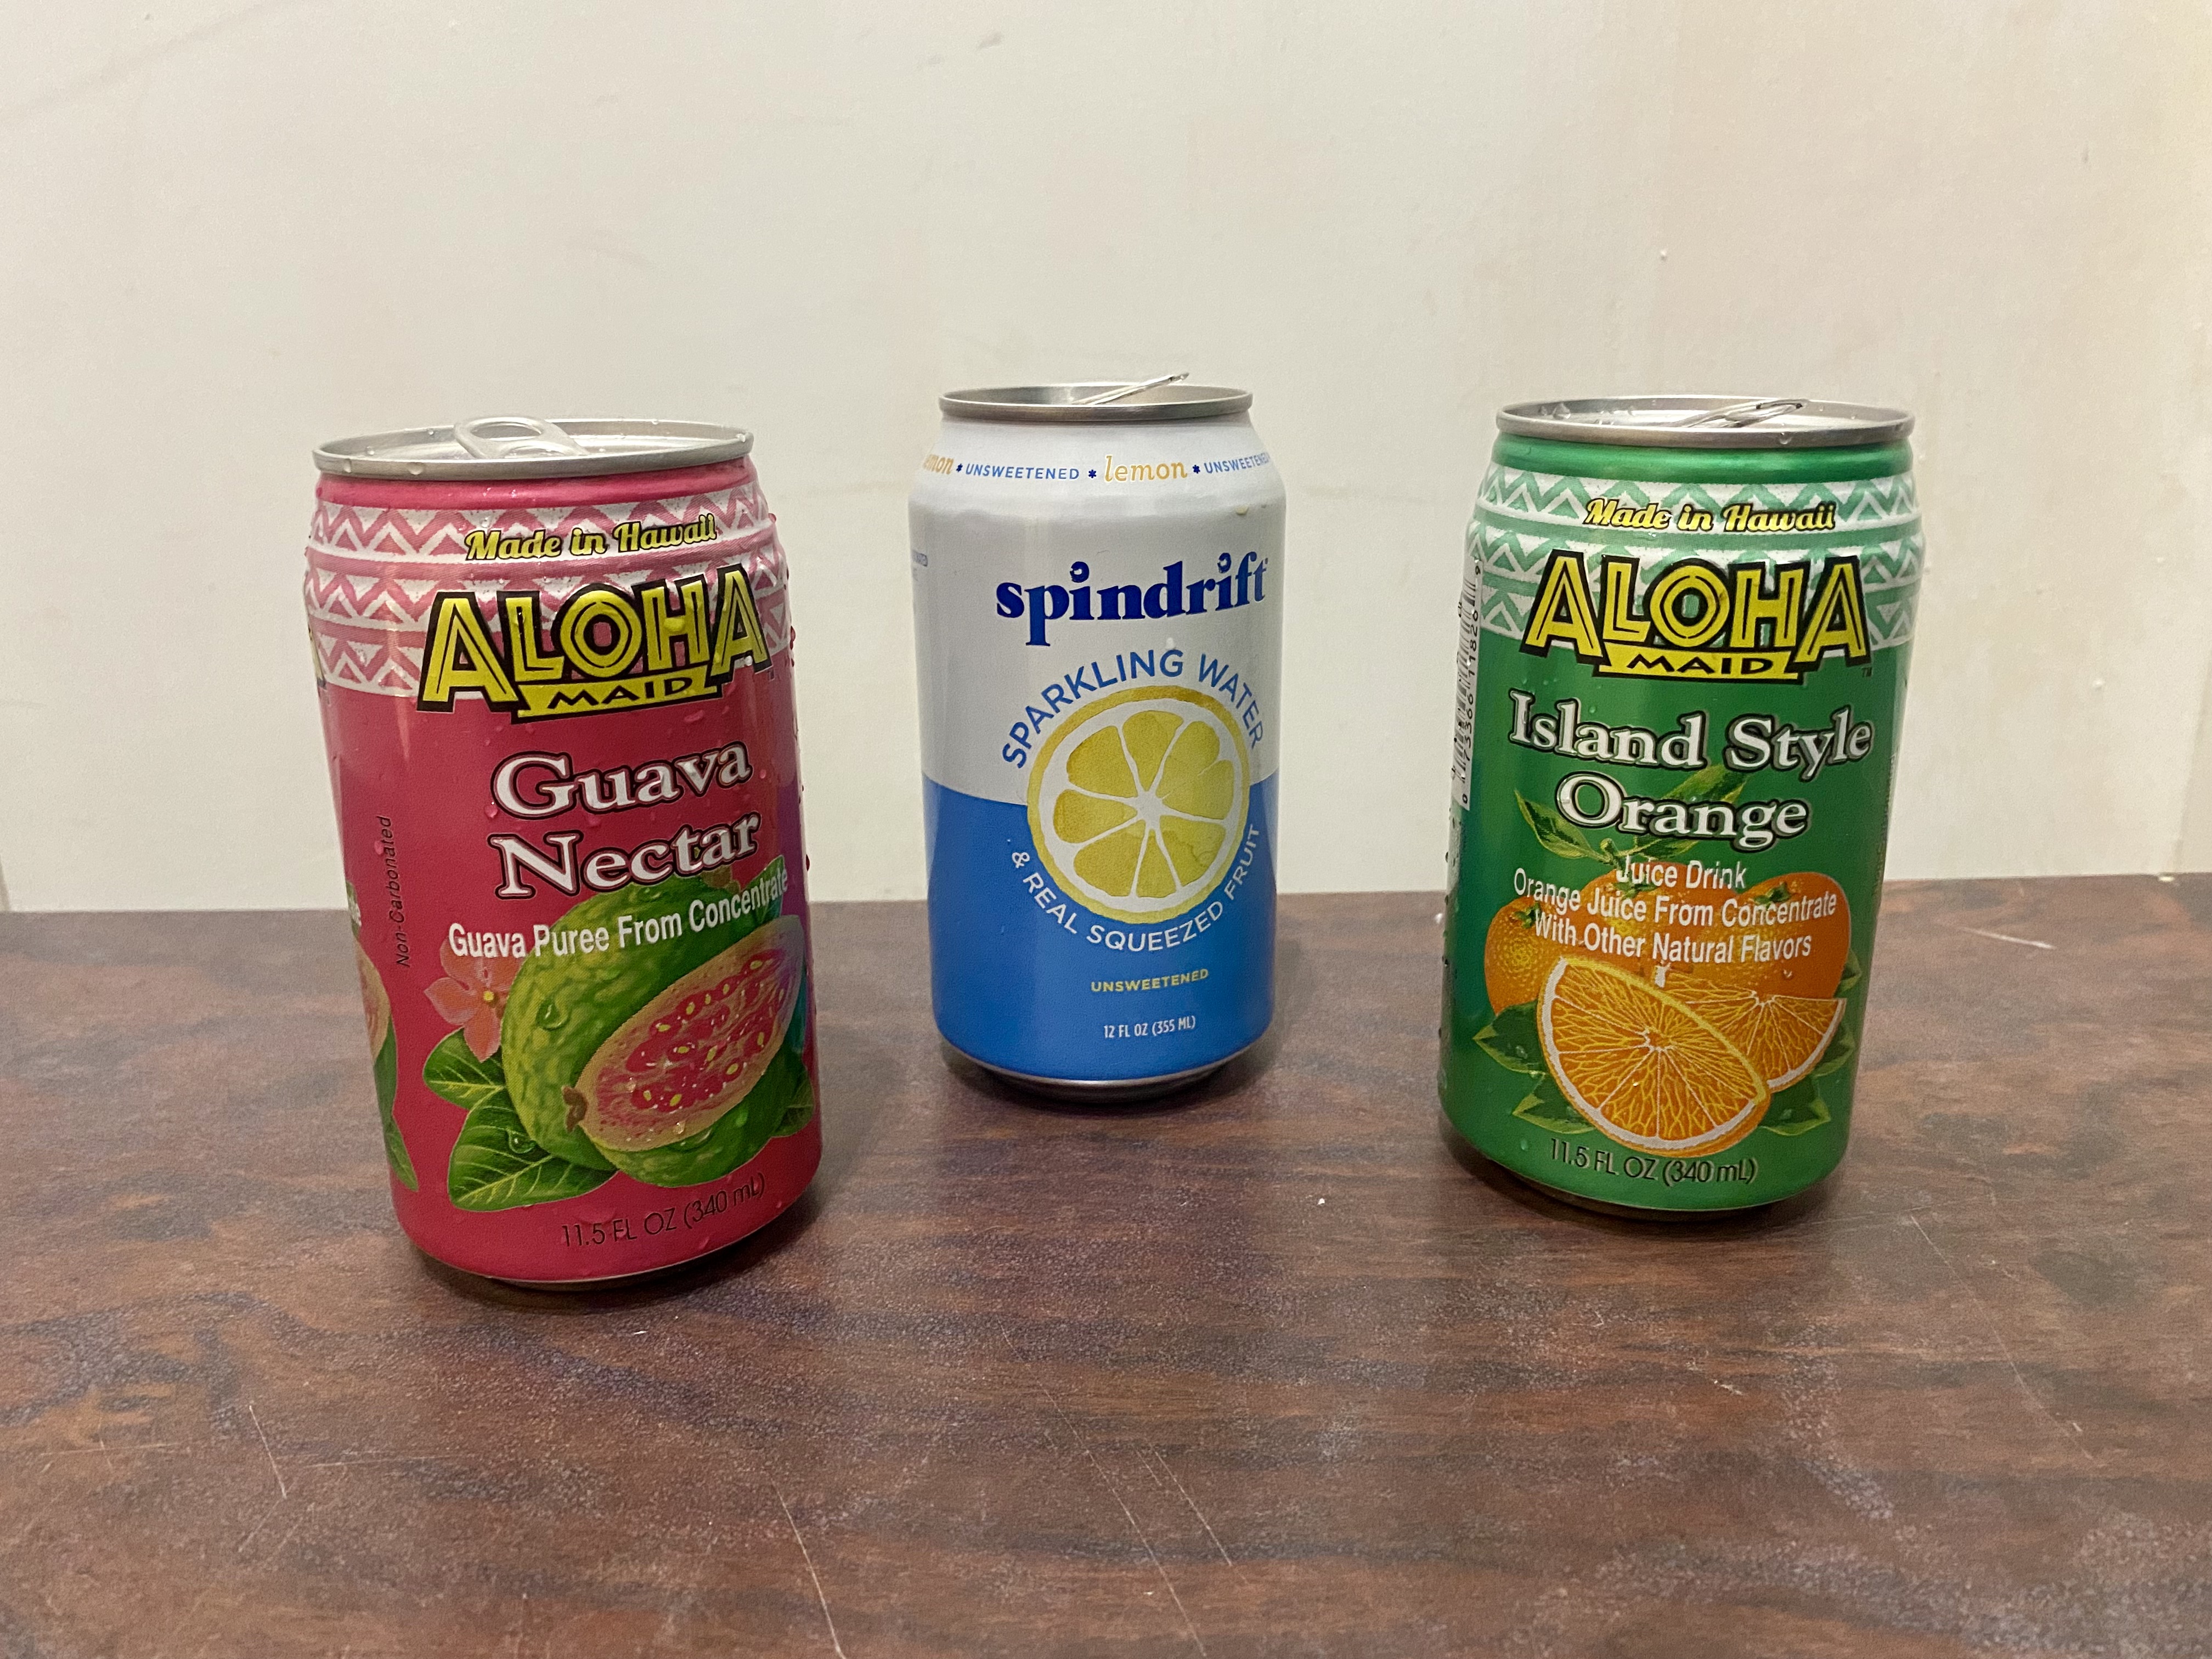
- Drink a beverage of your choosing, then empty and clean out your can.
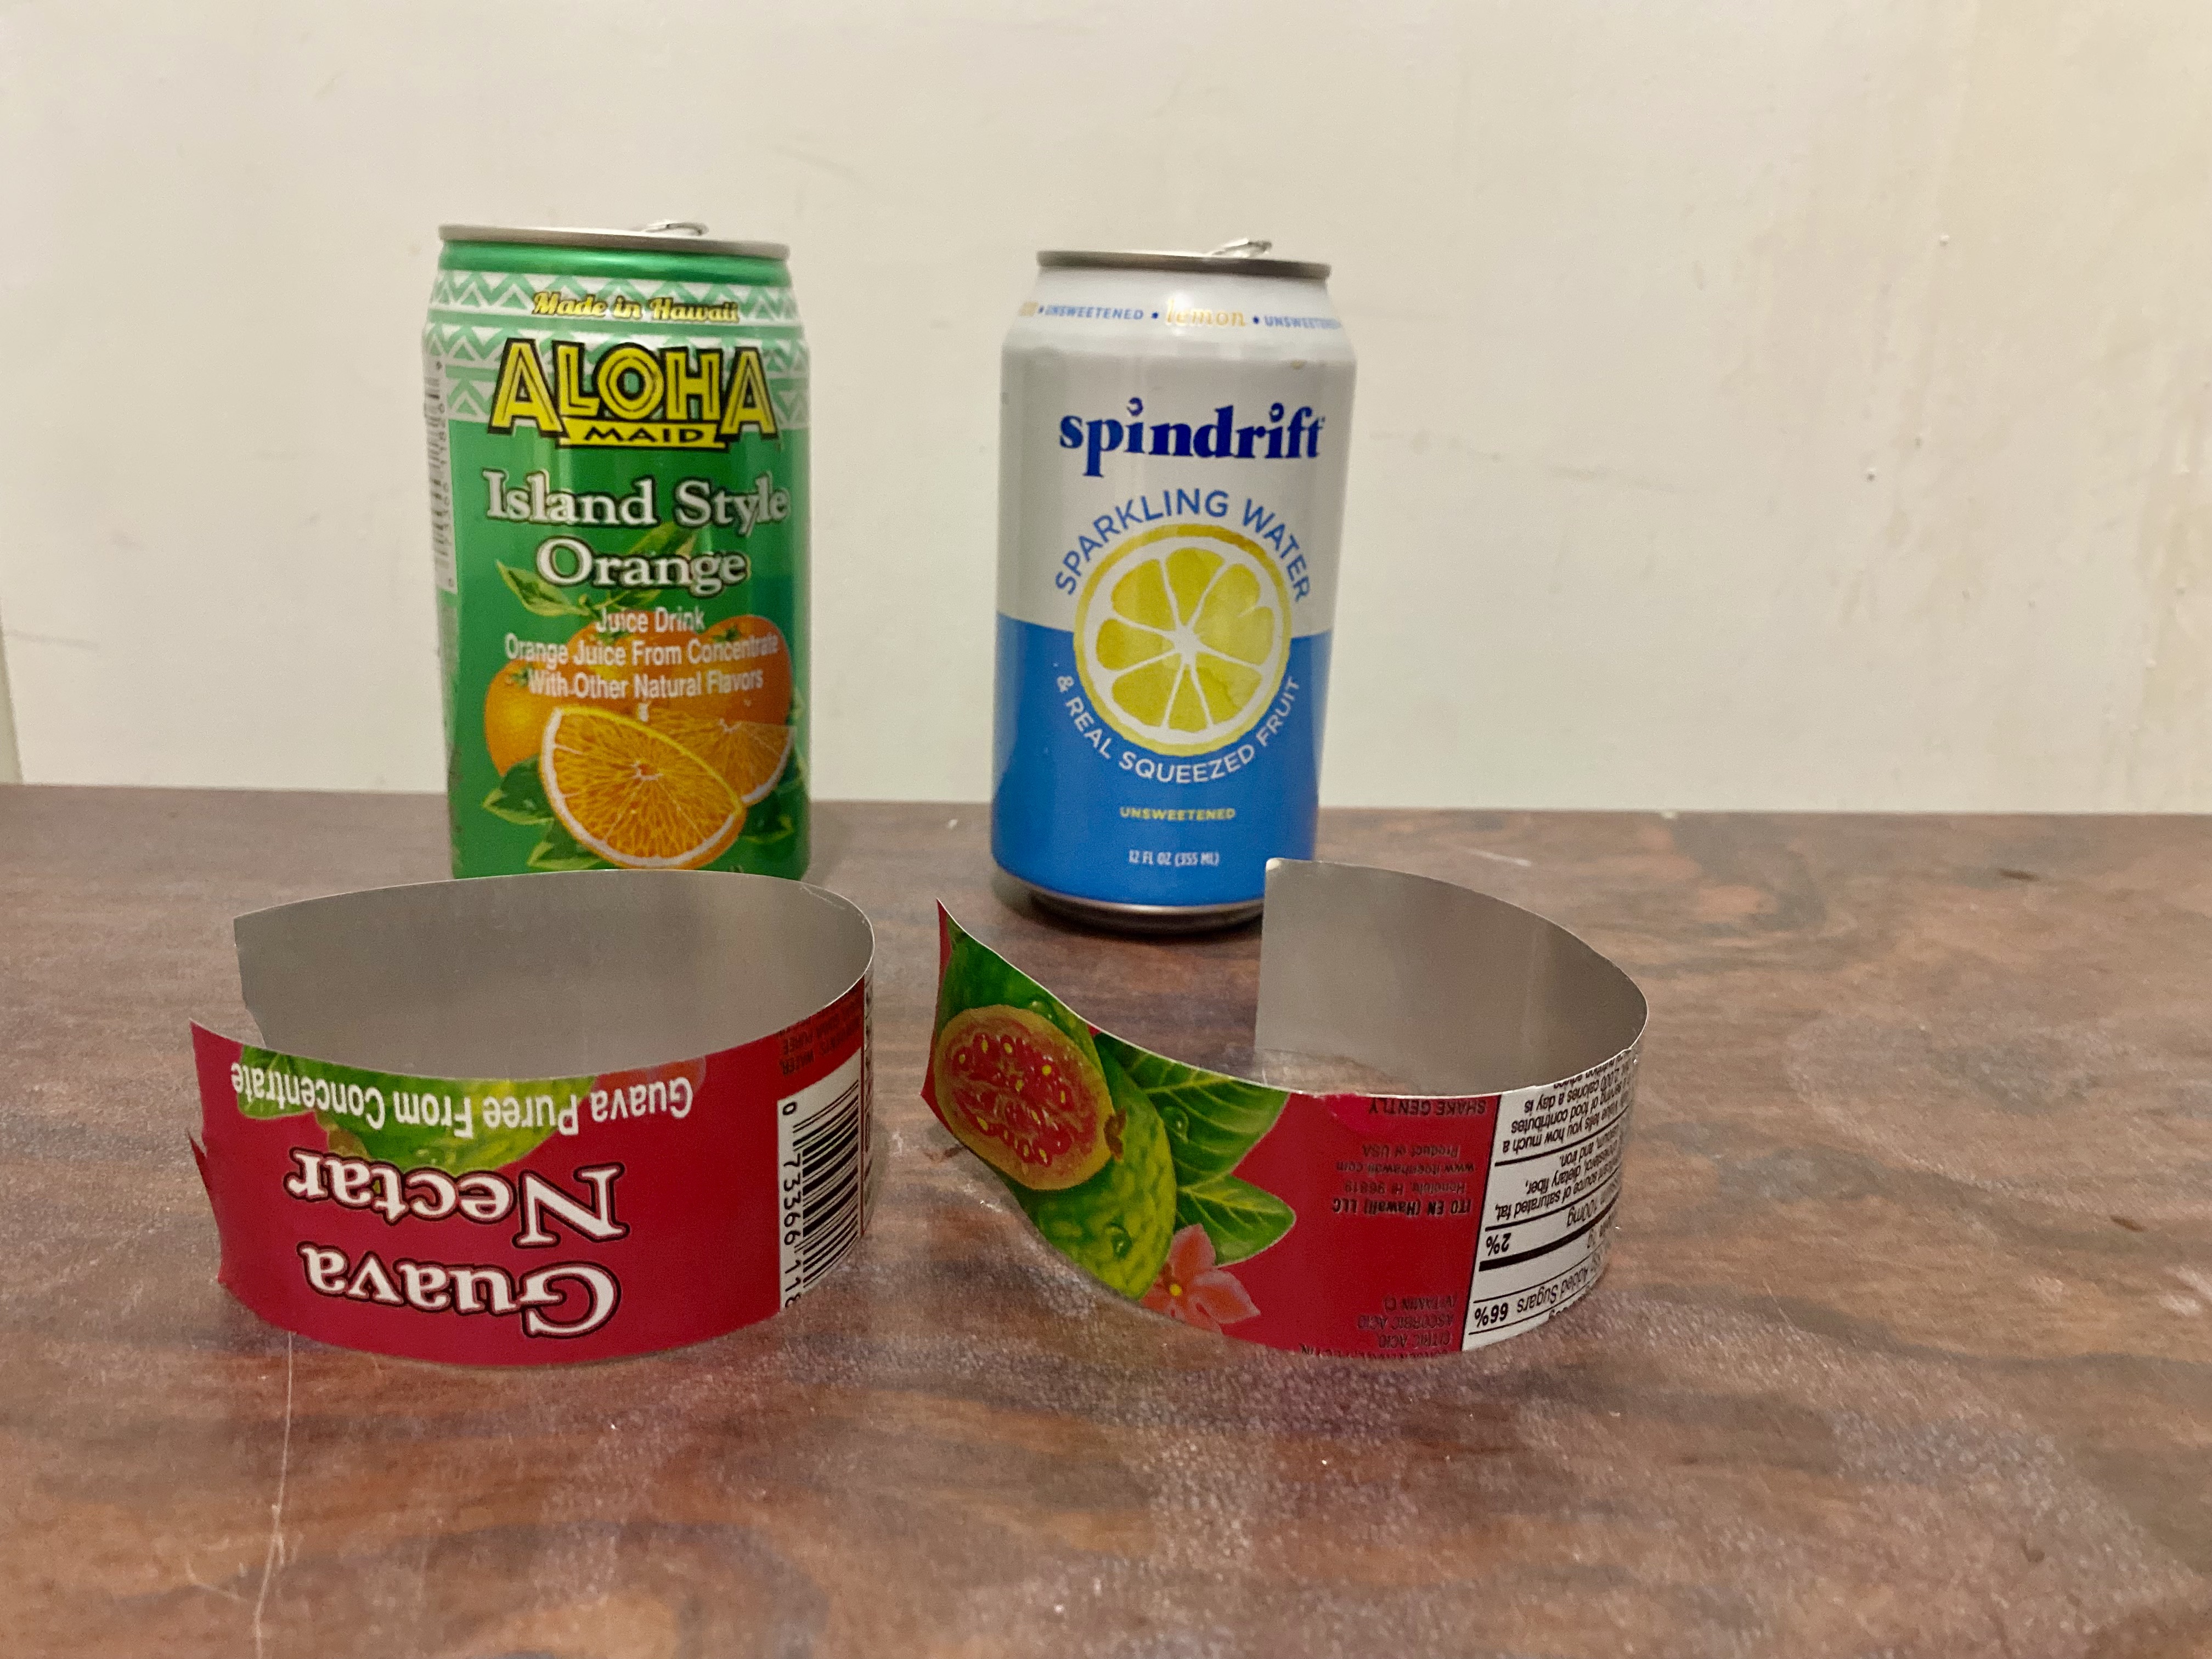
- Using protective gloves, cut out the top and bottom, leaving you with a tin ring.
- Create a rectangular tin sheet by cutting the seam of the can from top to bottom.
- Print out a small image or draw a simple design on a scrap piece of paper. These should be the same size you want the cookie cutter to be.
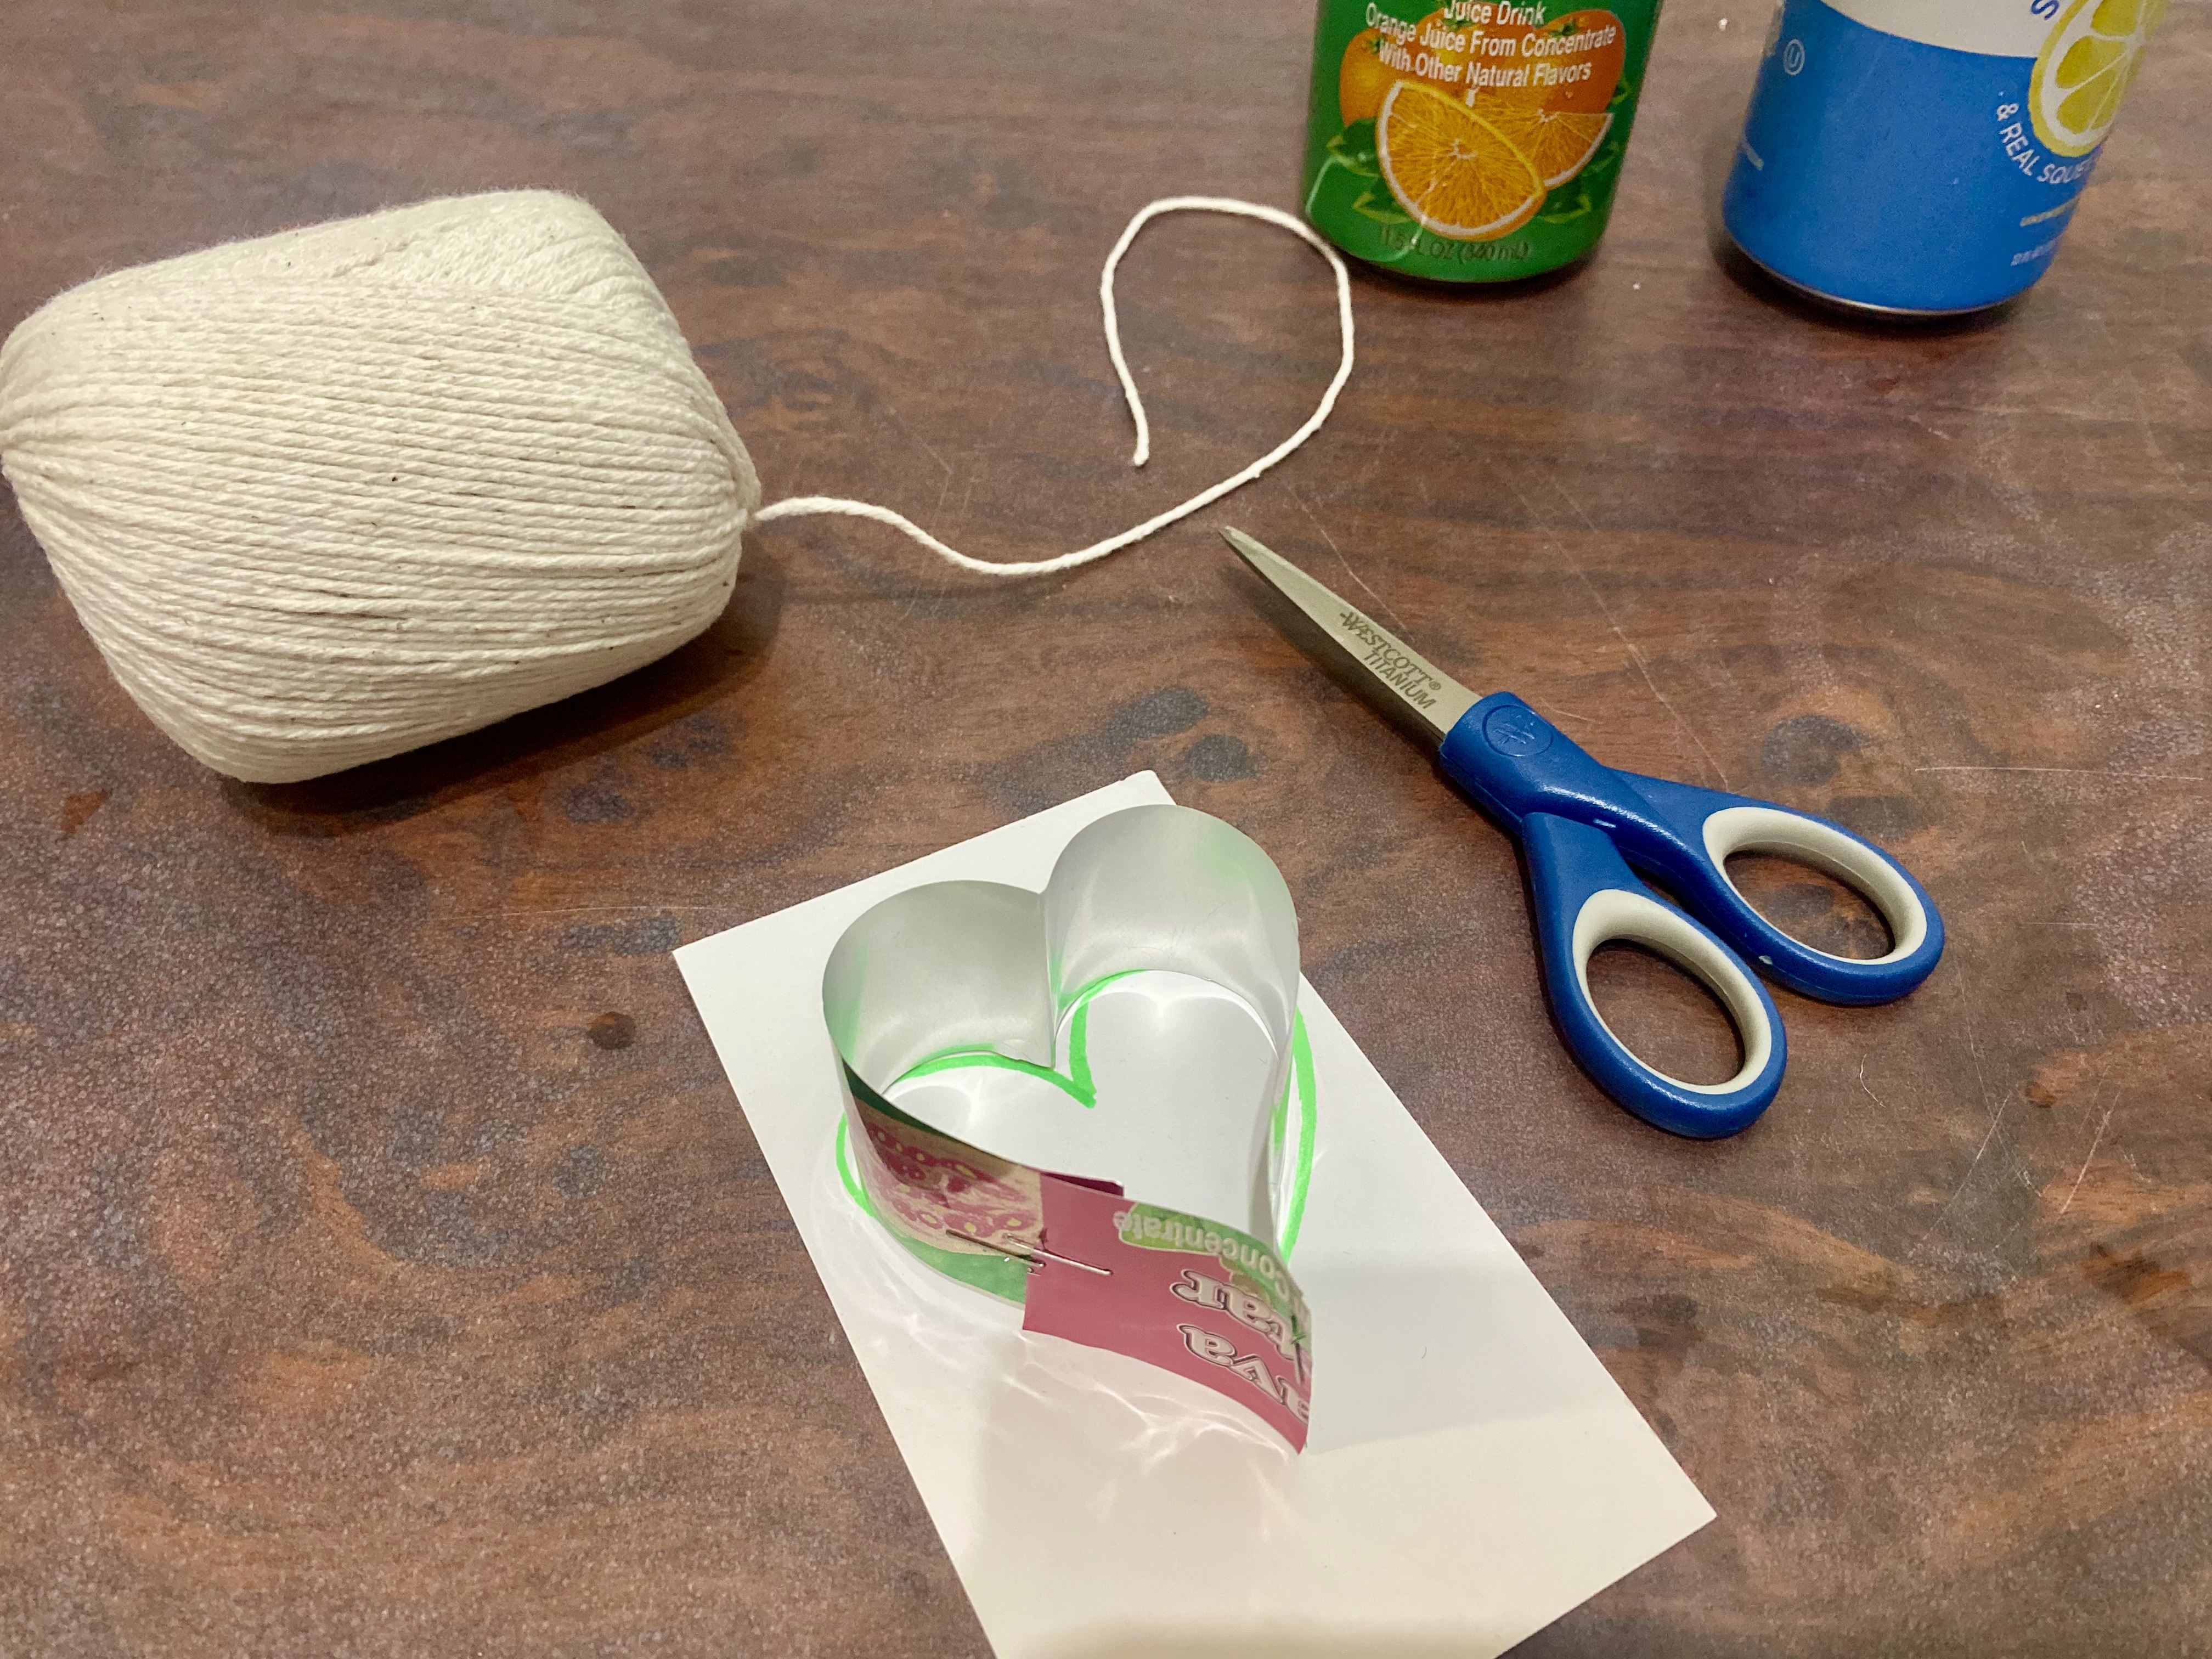
- Use a string to outline the perimeter of the design and cut it once it has reached the appropriate length. This will be used to measure your tin strip.
- Cut the tin strip so that is the same length as the string. If necessary, use food-safe glue or a staple to add on another strip.
- Using protective gloves or a needle-nose pliers, shape the aluminum to match the outline of the picture. Be sure to apply enough pressure to form the right angles and curves.
- Secure the ends of your cutter together using food-safe super glue or a staple.
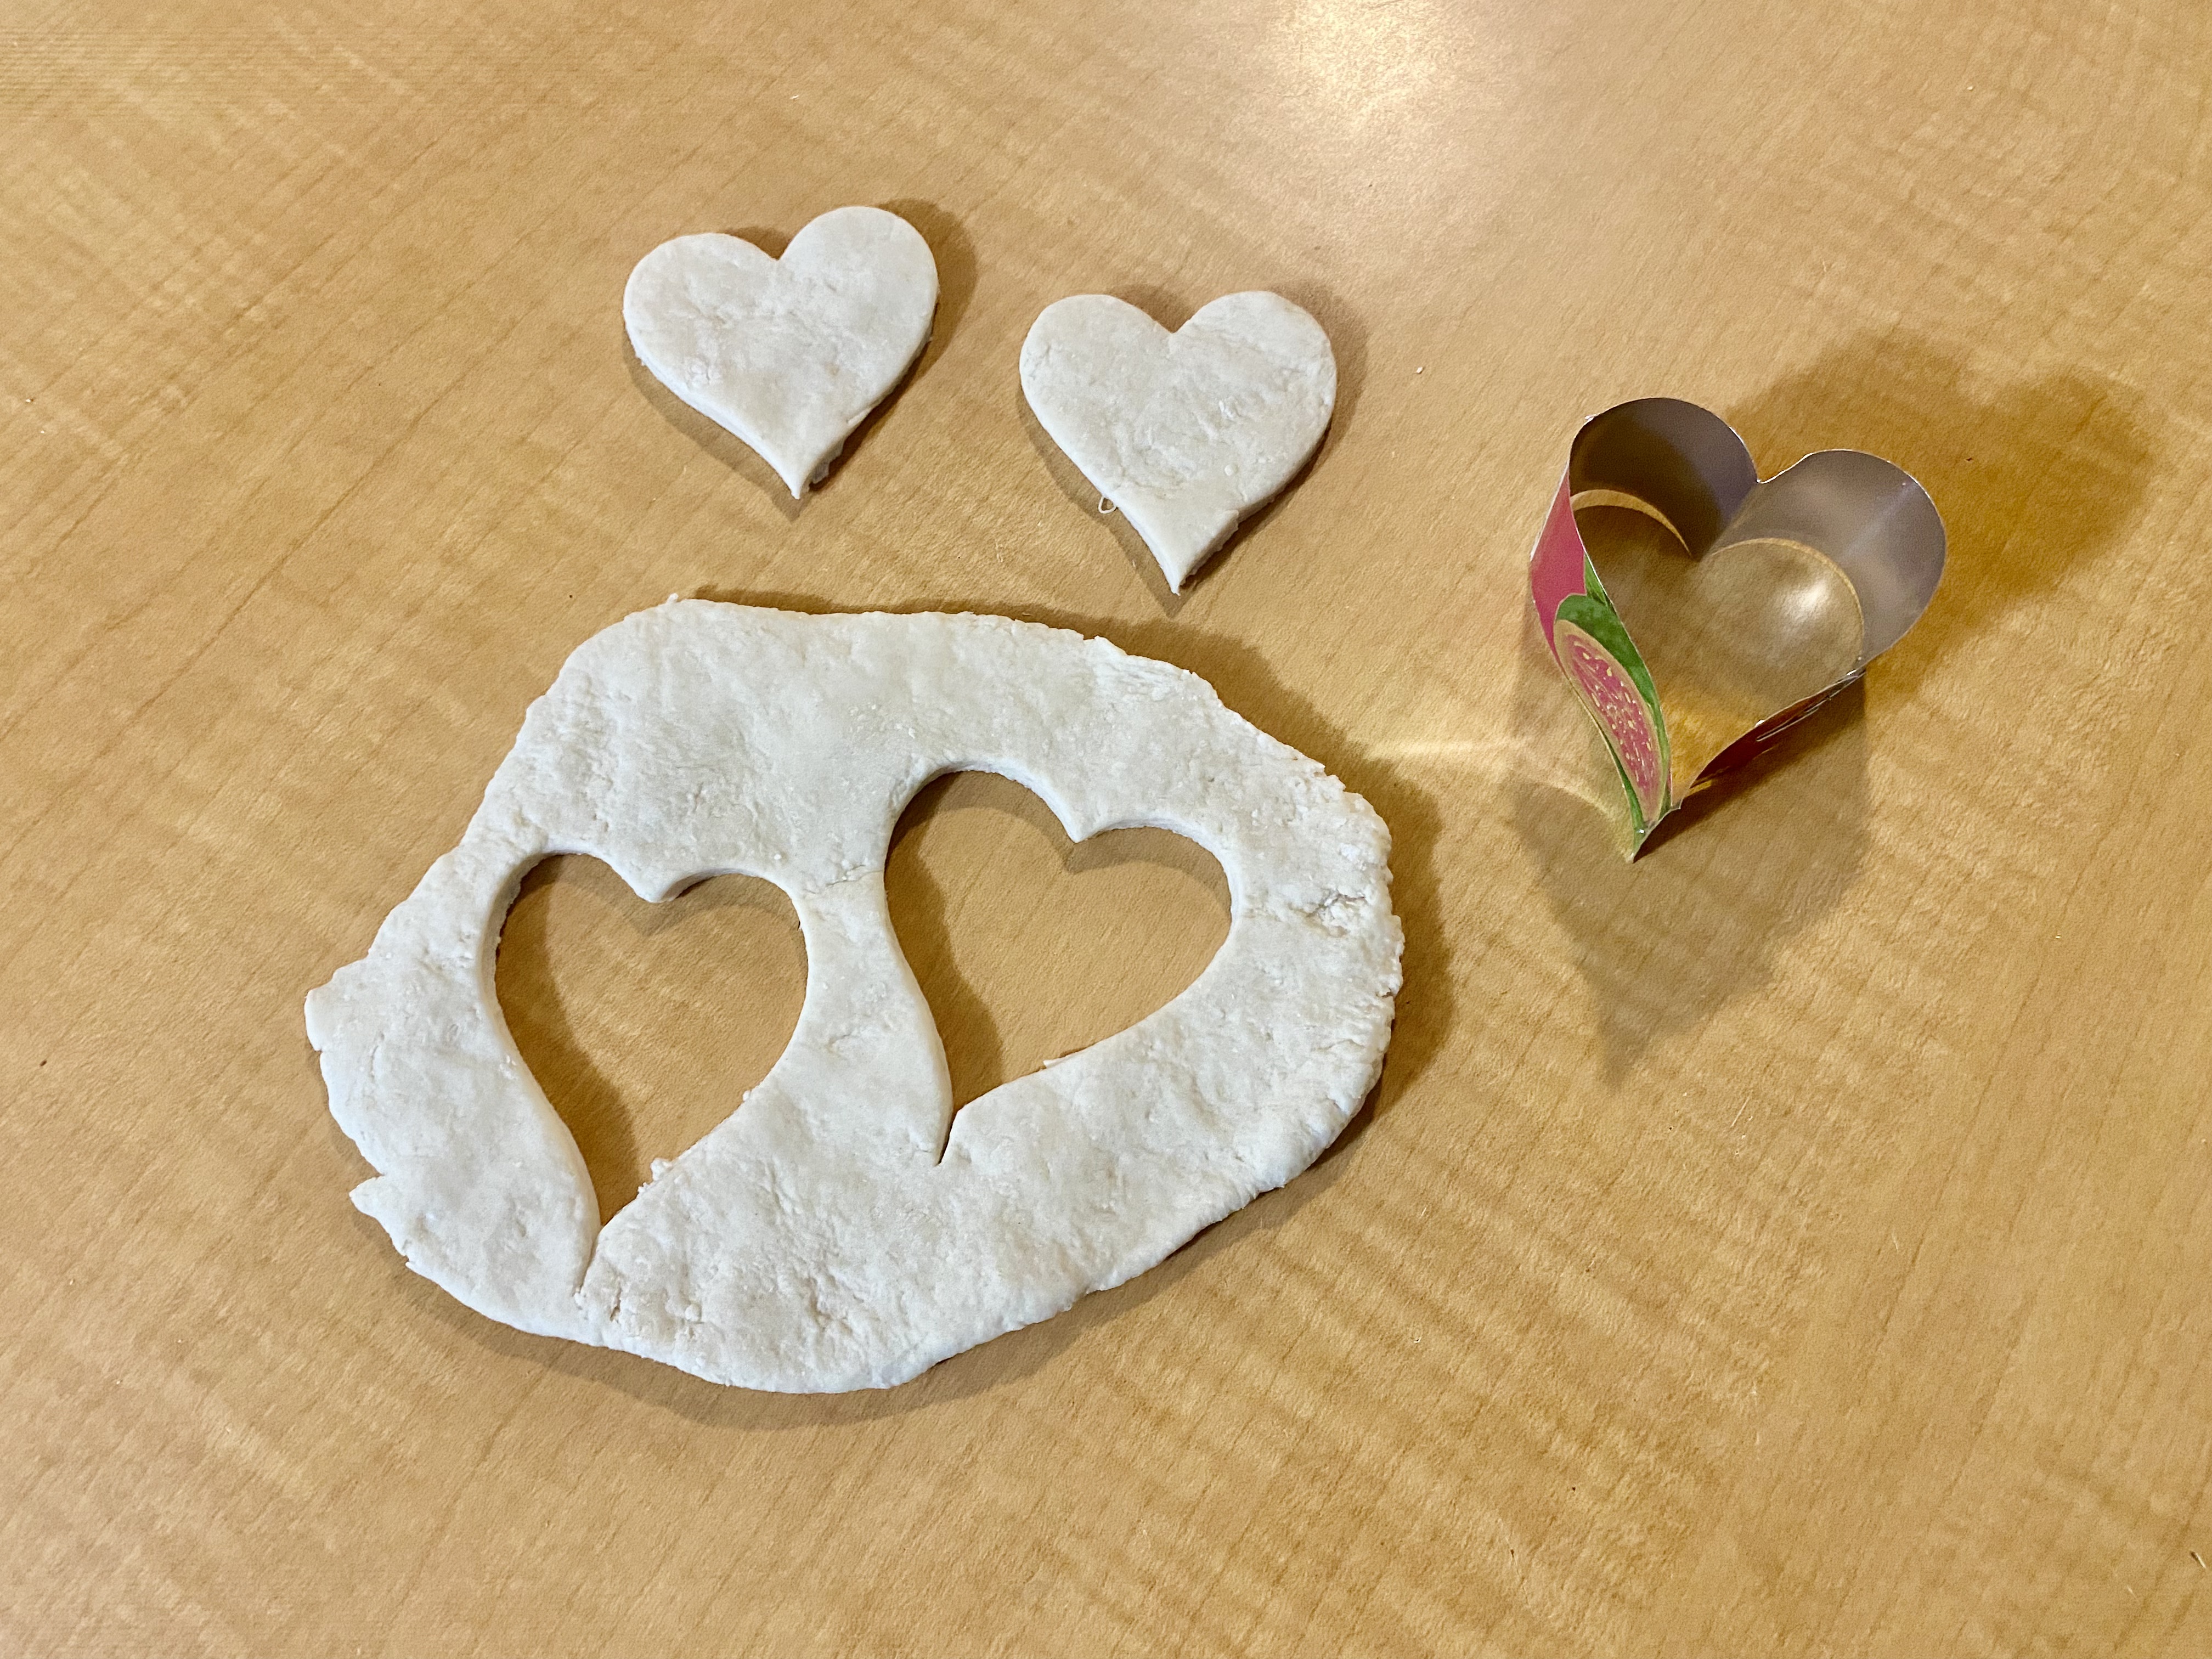
- Let it dry, then try it out on your dough!
- If you do not want to keep your new cookie cutters for future baking projects, remember to recycle them.
Sources: Real Simple