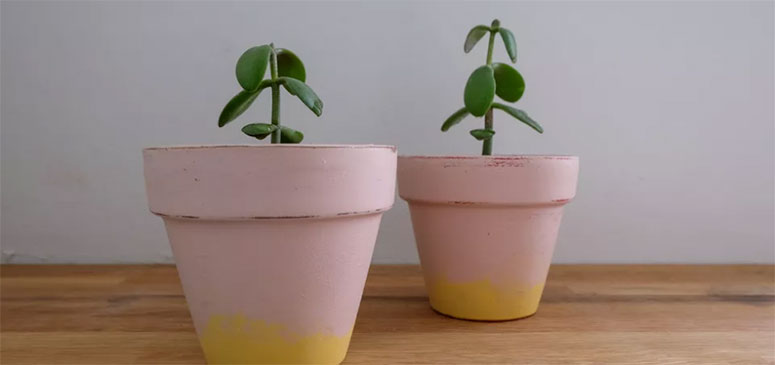
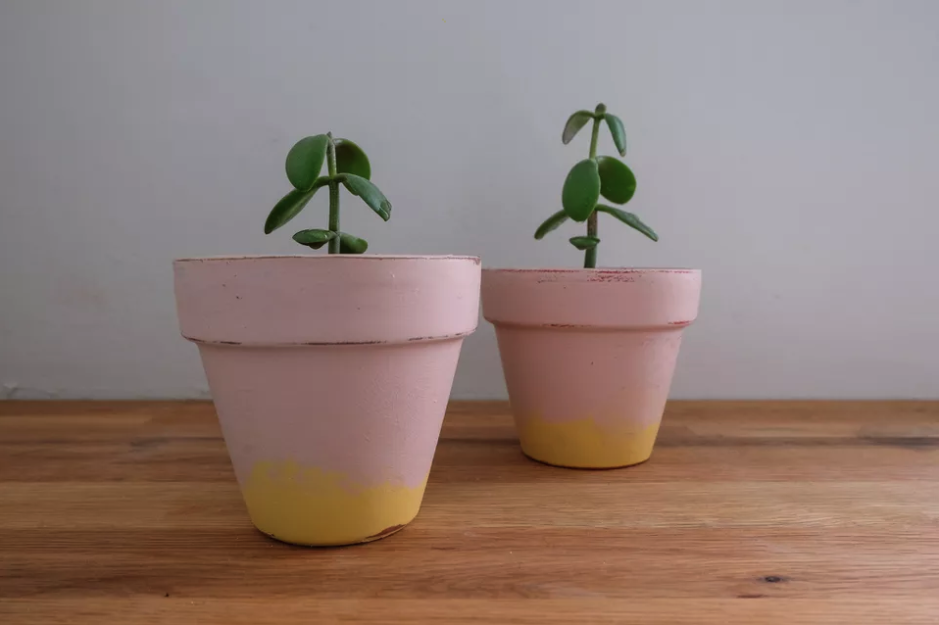
Do you have some old clay pots that have seen better days? Instead of disposing of them and getting new ones, revamp your old clay pots with this fun DIY paint project! Use chalk paint to coat your pots for an appealing design and easier labeling. This project is perfect for all ages and is easy to complete in a timely manner!
Materials
- Sandpaper or sanding block
- Paint brush
- Chalk finish paint
- Wax finish
- Terracotta pot
How To:
- Clean your terracotta pots thoroughly – if you are reusing older pots, be sure to remove any dirt or residue so that your paint sticks evenly. We recommend using dish soap and cool water with a durable scrubbing brush. Rinse thoroughly and allow your pot to dry before painting.
- Sand your pot using the sandpaper to remove any major bumps or uneven areas.
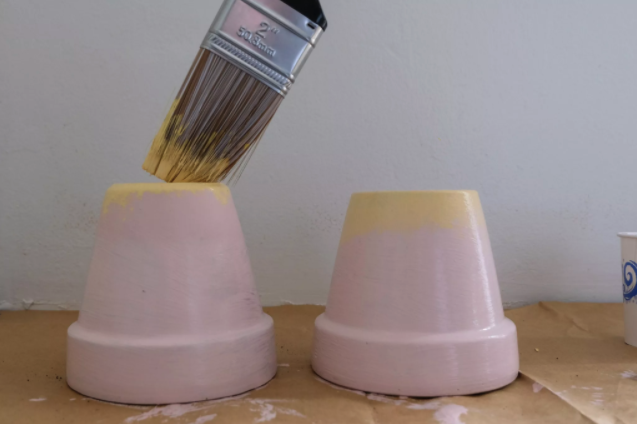
- Apply the first layer of chalk paint to your pot using even brush strokes.
- Tip: if the paint is too thick, you can dilute it with a few drops of warm water for a smoother consistency. We recommend only painting the outside of your pot, as some paints may rub off with soil and harm your plant.
- Allow for the paint to dry and continue applying coats until you have reached the desired color and opacity.
- For an ombre effect, use another paintbrush to dab on a second color of paint.
- Tip: for a better blending effect, add the second color before the first color fully dries. You can always add more of the first color as needed.
- Design as desired. Get creative with your project! You can distress the paint, add some decals, or even add a fun print.
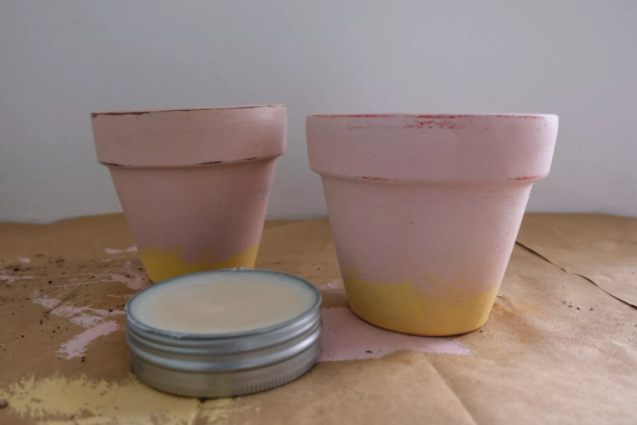
- Once your pot has fully dried, apply a wax finish. While it’s not a must, we recommend using a wax finish as it helps the paint to stay on longer and keeps the color of the paint vibrant.

Source:
How to Paint Terracotta Pots with Chalk Paint